How to Create a Horizontal Scroll Animation in Framer
Learn How to Create a Horizontal Scroll Animation in Framer.
Create a Columns
Add a
Columnswith the following properties:Width: fit
Height: fit
Insert your image into this
Columns.
Create a Sticky Parent Container
To enable the horizontal scrolling effect, add another
Columns, which will serve as the parent container.Configure this parent container with the following properties:
Sticky Position
Width: 1fr (to fill the available horizontal space)
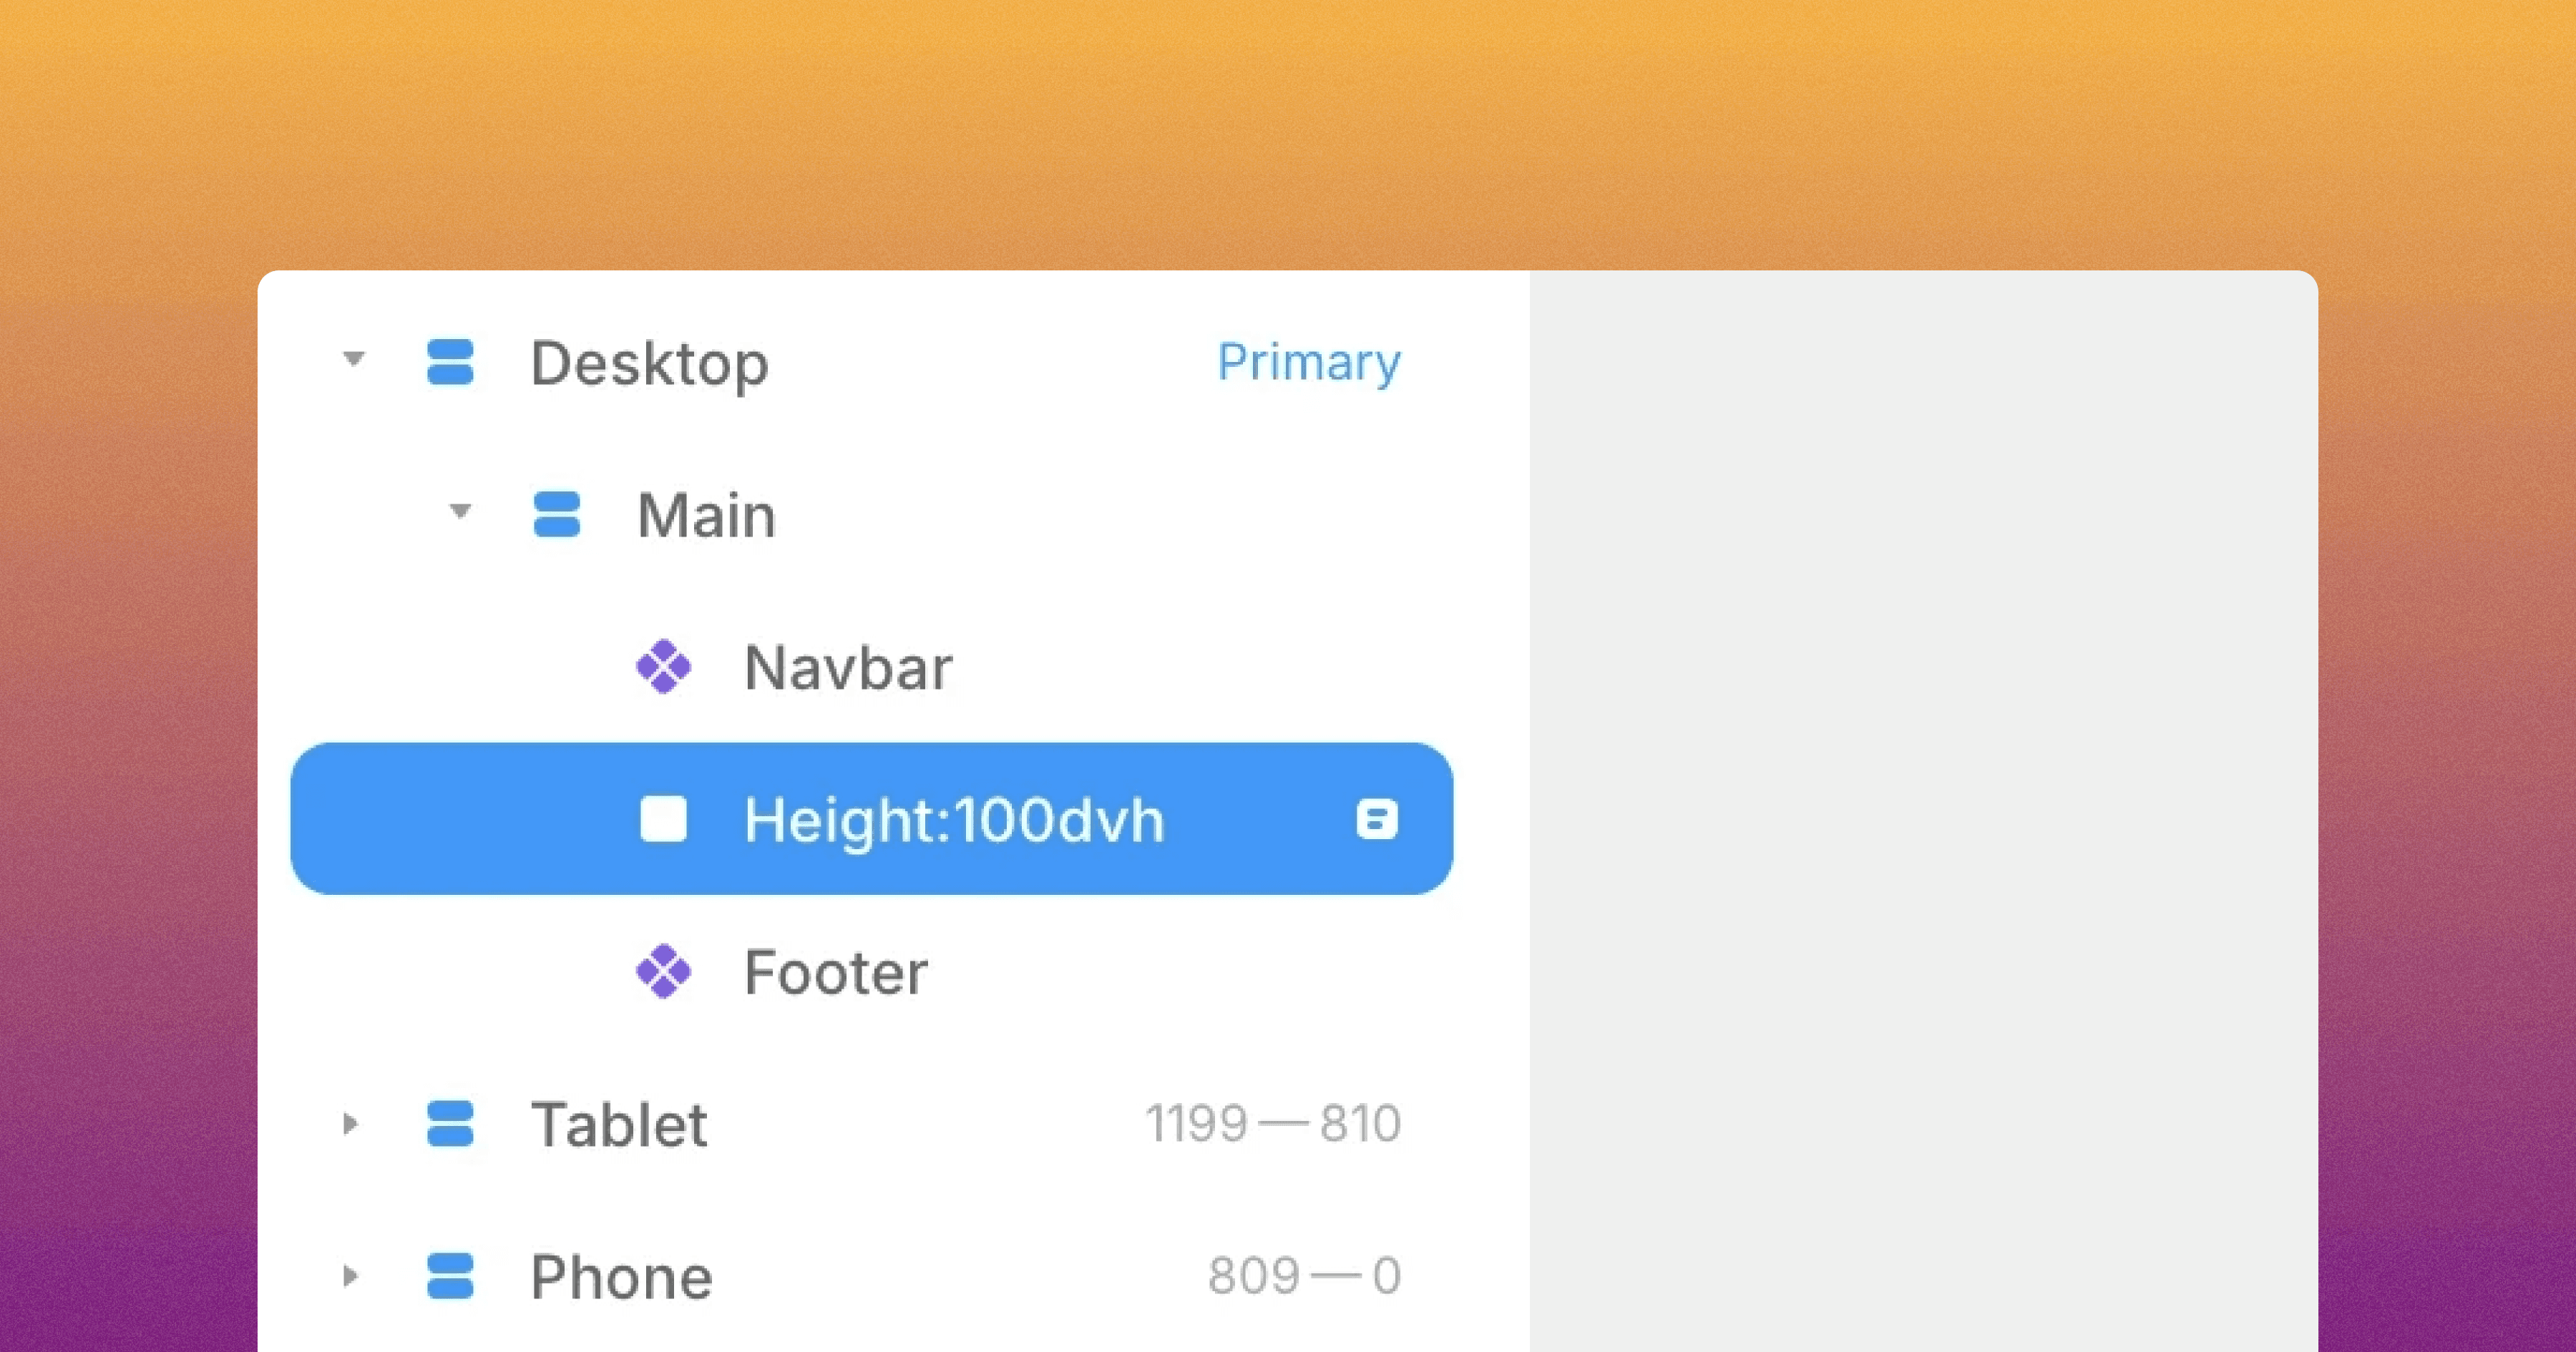
Height: 100vh (to match the viewport's height)
Ensure that the layout of this parent container is horizontal, and set its distribution to "start."
Add a Final Parent Container
Continue by adding one more
Columns. This will be the final parent container for your scroll animation.Set the properties of this final parent container as follows:
Relative Position
Width: 1fr (to fill the horizontal space)
Height: 300vh (adjust this value as needed)
Change the overflow property to "visible." On the desktop container, ensure that the overflow is also set to "visible."
Add Scroll Section Names
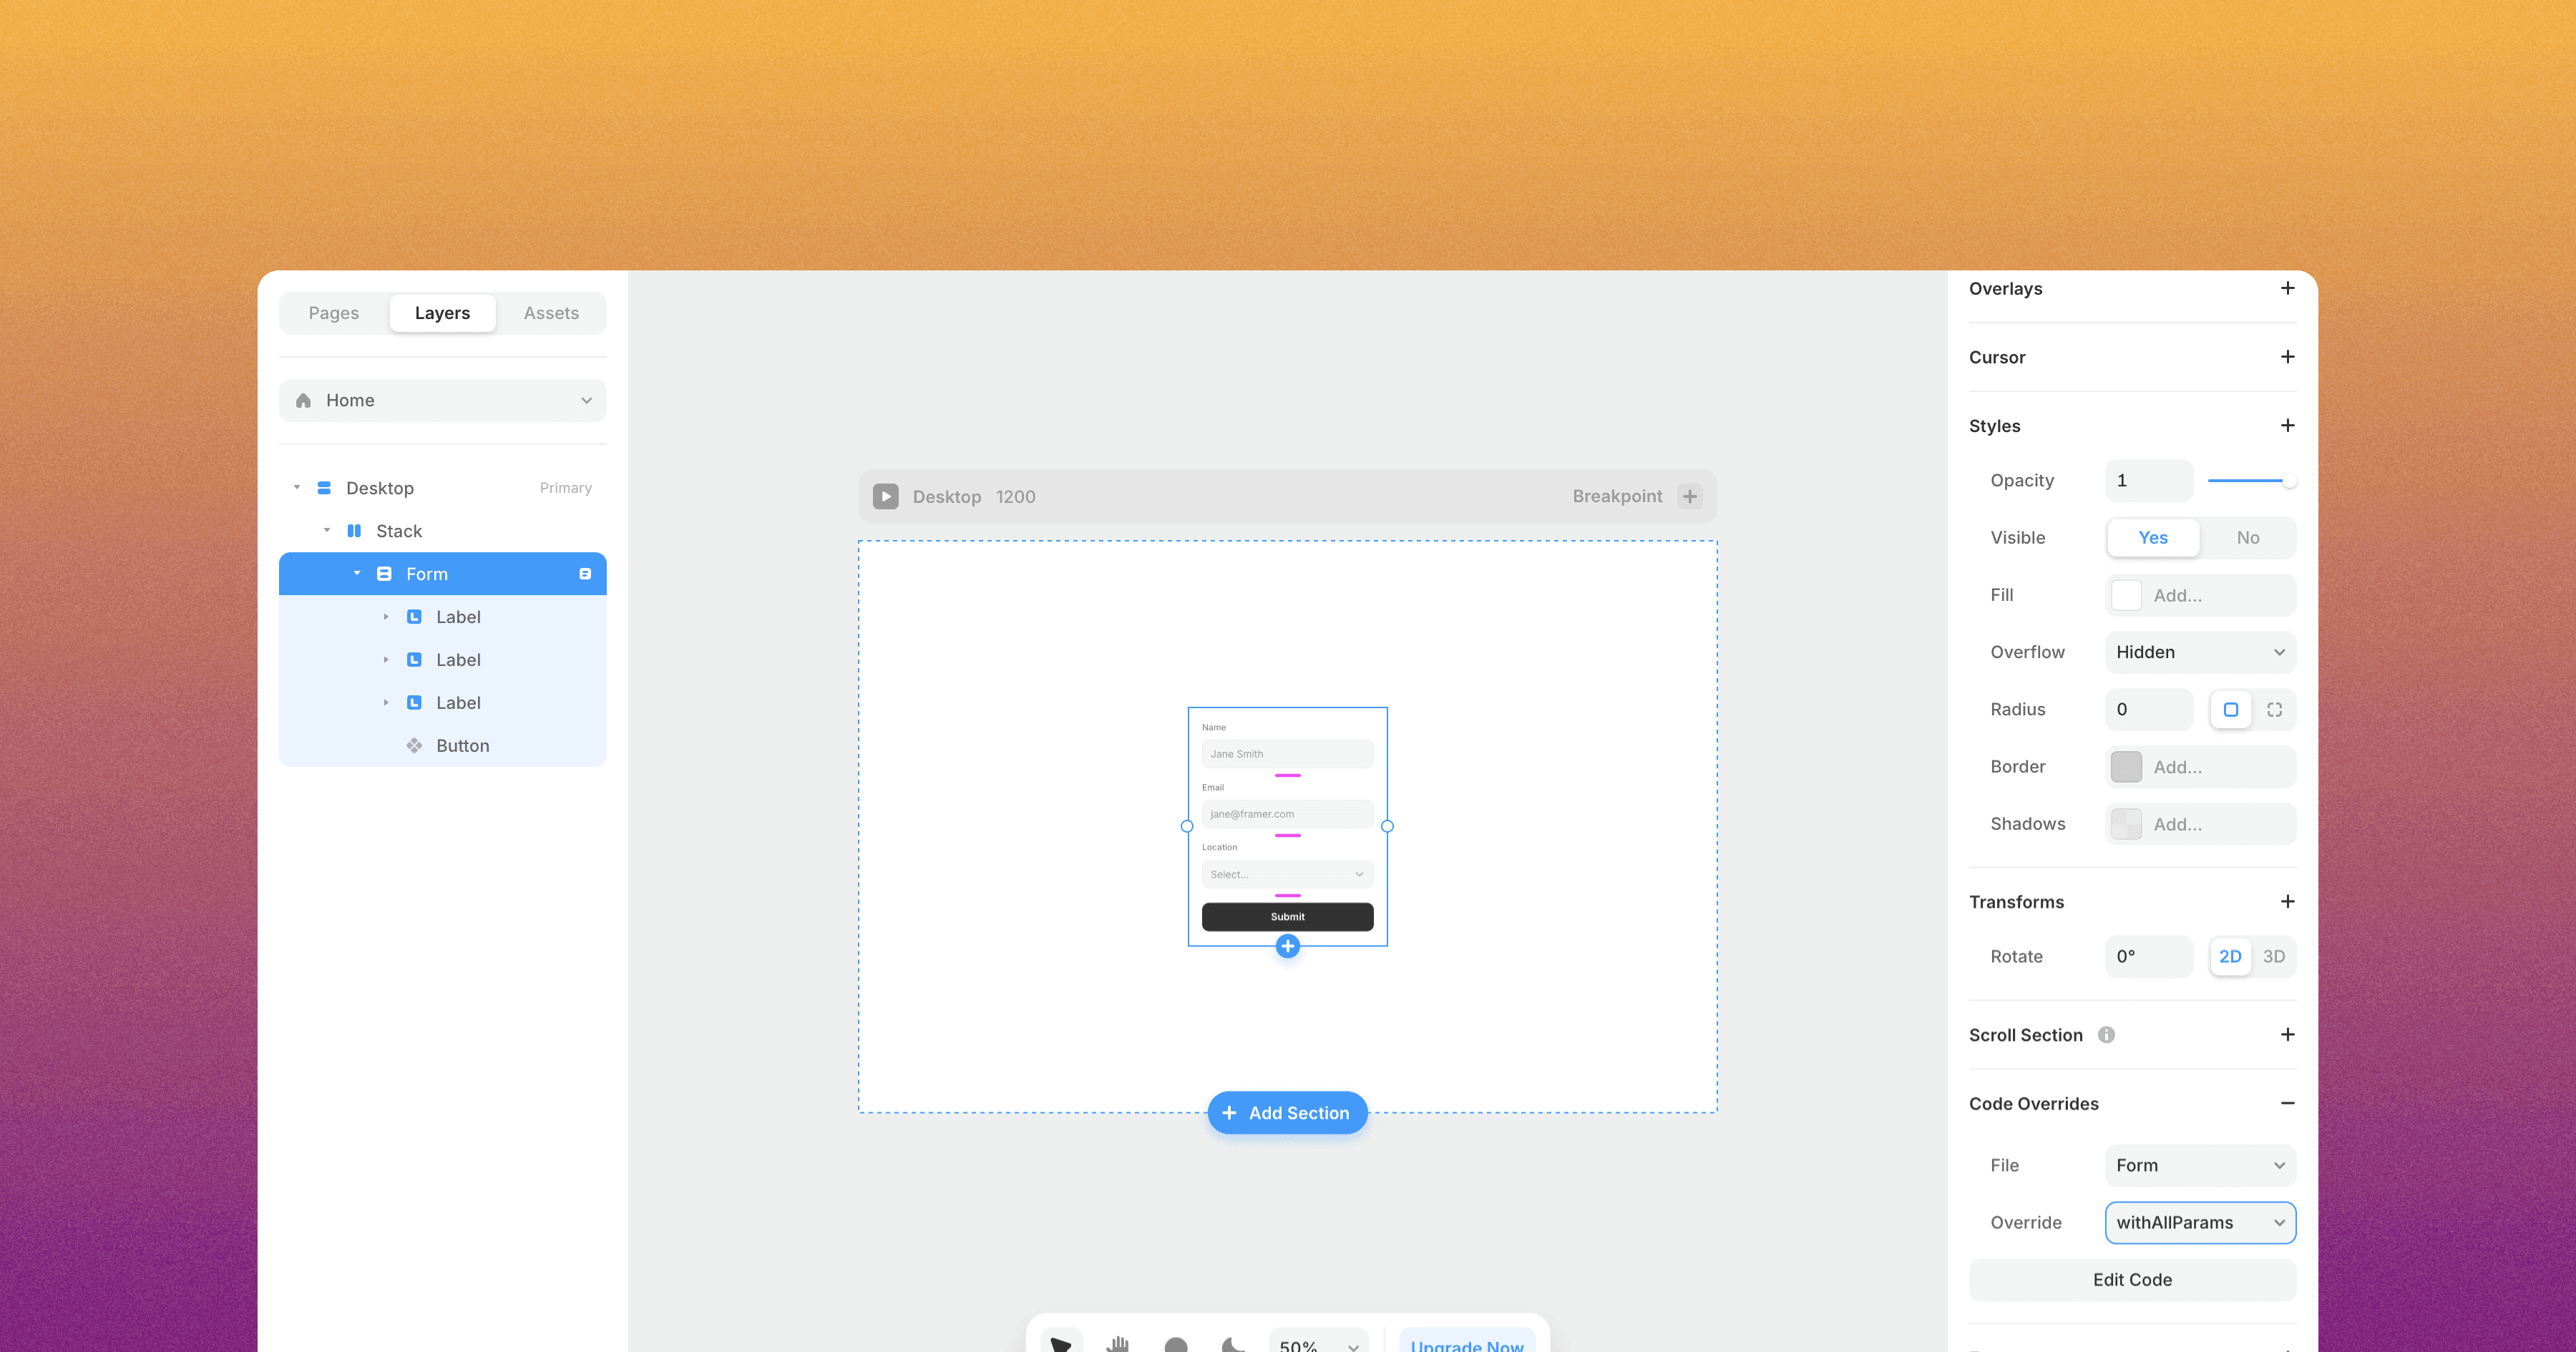
To organize your animation, give your final parent container a scroll section name. For example, you can name it "scroll-horizontal."
Within the image
Columns, add a Scroll Transform Effect.Configure the Trigger to activate when the section is in view and select "#scroll-horizontal" as the target section. Also, set the viewport end as the trigger point.
In the "From" section, adjust the opacity and scale to 1. To center the initial image, adjust the horizontal position (X) to your liking (e.g., 500).
Repeat the same adjustments for the "To" section, but this time, position the last image in the center by modifying the horizontal position (X) to your liking (e.g., -2500).
You can customize the transition settings as desired.
Voila! You've successfully created a horizontal scroll animation in Framer.
Experiment with different images, layers, and animations to achieve the effect you desire.
Don't forget to share this post!
